A clean nub starts with a controlled cut, followed by small amounts of material removal. The goal is to bring the leftover gate level with the surrounding plastic while keeping the part's shape. Trying to erase every visible mark with more pressure is how a small blemish can become a hollow spot.
This beginner workflow is for ordinary, unpainted plastic parts. Clear, plated, coated, and already-painted pieces need a different approach; check their instructions before cutting or sanding a visible surface.
First, identify the mark
A raised nub is plastic left where the part joined the runner. It can catch a fingernail even if it looks tiny. A stress mark is a pale area created when plastic is stressed during removal. A gouge is missing material where a cut went below the surface.
These problems need different responses. Sanding can level raised plastic and refine scratches. It cannot put material back into a gouge, and it may not remove discoloration that extends beneath the surface. Look from several angles under a lamp before deciding to remove more plastic.
Set up a small cleanup station
Plastic-model nippers suited to the material and gate thickness.
A firm sanding surface for flat faces, and a flexible abrasive for curves.
A few progressively finer grits, rather than one aggressive sheet.
A parts tray, a lamp, and a soft brush for clearing dust.
For ordinary opaque plastic, our suggested practice sequence is roughly 600, 800, and 1000 grit, starting finer if the nub is already tiny. That is an editorial starting point, not a rule for every abrasive or finish. Grit systems and products differ; test the actual materials on a leftover runner first.
Tamiya describes its 600-grit sanding sponge as flexible and suitable for smoothing cut joints on plastic models. Its flexibility helps it follow curves, but it does not prevent you from rounding an edge if you press too hard.
Step 1: remove the part with room to spare
Read the assembly step and identify the exact gates before cutting. Support the part so that the last connection does not twist or pull as you remove it. For a typical conventional gate, make the first cut away from the finished surface, leaving a small stub attached to the part.
How far away depends on access and the tool. The useful principle is to avoid forcing a thick gate and the finished surface through the same aggressive cut. If the blades cannot reach cleanly, reposition the runner instead of levering the nippers sideways.
Follow your nipper manufacturer's limits. GodHand's official guidance, for example, gives specific restrictions for its thin-bladed tools, including material and thickness limits and avoiding twisting. A fine finishing cutter is not a general-purpose tool for wire, thick runner labels, or every clear-plastic gate.
Step 2: reduce the stub carefully
With the part free and supported, trim the remaining gate gradually if your tool is designed for that task. Leave a slight amount proud of the surface for cleanup rather than trying to dig the blades below the surrounding plastic.
For an undergate, inspect the manual and the underside of the part. Material left on a mating surface can keep armor from seating correctly, even when it is hidden from the final view. Remove the gate without flattening a locating peg or changing the joint.
If a fragile fin starts flexing, stop. Move your supporting fingers closer to the work and reassess the cut. More grip force does not make the part stronger.
Step 3: level the nub without changing the shape
On a flat panel, keep the abrasive flat against the local surface and use short, light strokes. Check after a few passes. On a curve, use a flexible abrasive that follows the contour; avoid wrapping it around a crisp corner you want to keep sharp.
Remove only enough raised plastic to bring the nub close to level. Clear the dust and look under angled light. Do not keep sanding just because the gate location remains a slightly different color.
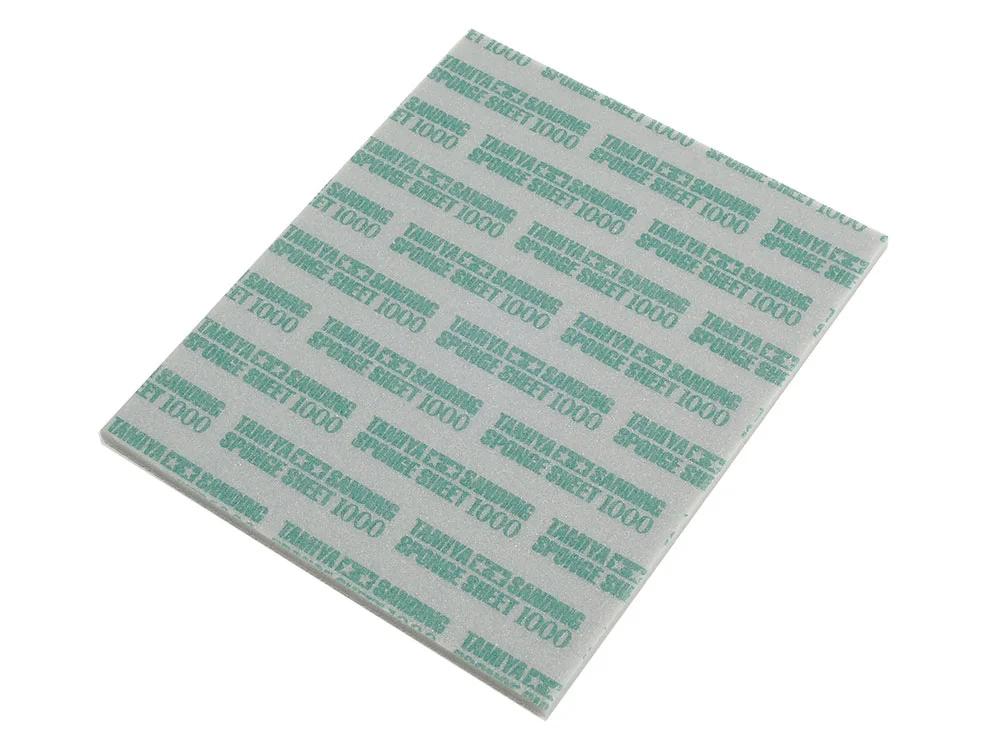
The Tamiya Sanding Sponge Sheet 1000 is one catalog option for the finer stage of this process. It is not a promise of a glossy finish or a substitute for removing a large stub with an appropriate earlier step.
Step 4: refine scratches, then stop
Move to a finer grit once the raised nub is gone. Let each stage reduce the scratches from the previous one; pressing harder with a fine abrasive usually makes control worse. Recheck under the same light so you are comparing like with like.
Some builders continue with finer abrasives to better match the surrounding sheen. Others plan to paint and stop at the surface preparation recommended for their chosen primer. A 1000-grit area can look dull against untouched glossy plastic, so do not mistake that change in sheen for a new nub.
Wet sanding is an option only when the abrasive is suitable for it; Tamiya explicitly permits it for the sponge linked above. Keep loose parts organized, remove the residue, and let them dry before assembly. Keep sanding debris away from your face and clean it up rather than blowing it around the workspace.
When the mark will not disappear
Still raised: check the surface angle, then remove a little more material locally.
Smooth but pale: stop treating it like a raised nub. The discoloration may be below the surface.
Hollow or nicked: sanding the whole area down can distort the shape. Save filling and repainting for a separate repair project.
Clear or coated: ordinary sanding can leave haze or remove the finish. Practice on matching scrap and follow finish-specific guidance.
A slight mark on a first build is often a better outcome than a reshaped panel. Put the part at normal viewing distance before deciding whether it needs more work.
Practice before the visible armor
Choose a leftover runner section made from the same plastic, or a genuinely unused part clearly marked in the manual. Practice cutting, leveling, and refining once before starting the model's most visible surfaces.
For choosing your initial tools, read Gunpla Tools for Your First Build. If you are ready to browse supplies, compare the nippers and sanding products in the Artrovo Gundam shop, checking each tool's purpose and the current delivery estimate.
Reviewed September 11, 2026. Cover: Tamiya sanding-sponge catalog image. This guide provides a general workflow; it does not present fabricated before-and-after results.