You do not need an airbrush to add a metallic vent, a contrasting recess, or a small color accent to Gunpla. A deliberately small brush-painting project is a practical way to learn how paint behaves without repainting every armor panel.
Choose one accessible detail, one suitable paint, and a matching test surface. The goal of the first session is repeatable control. A tidy pair of details teaches more than a whole model covered in hurried corrections.
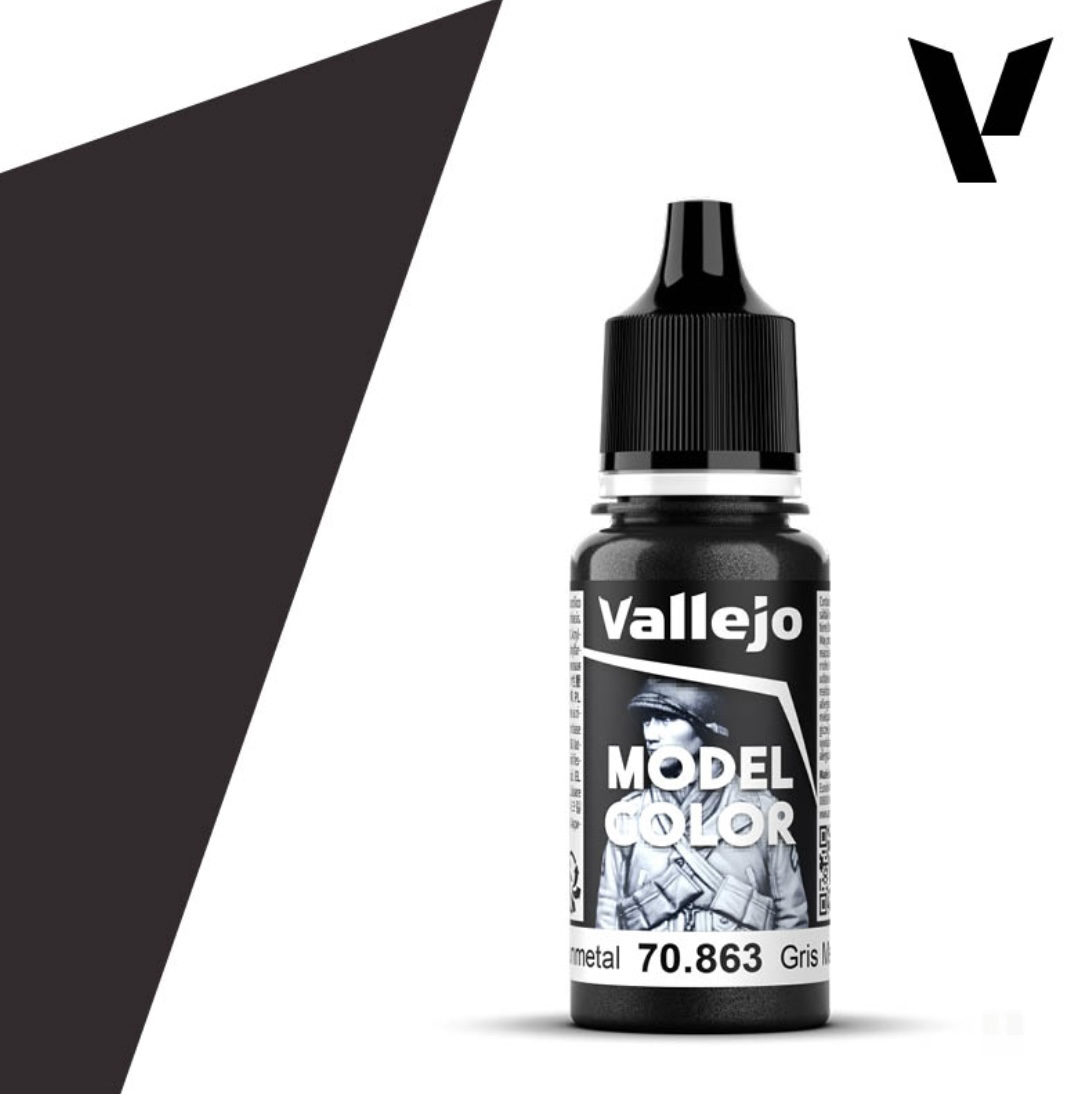
Catalog paint example; use the exact bottle’s preparation and application instructions.
Pick a detail you can reach and leave alone
Look for a visible area with a clear boundary that does not slide against another part. A molded vent face or a small decorative panel is usually easier to plan than a joint contact, a thin moving hinge, or a deep recess surrounded by finished paint.
Decide whether you can paint the detail before assembly. If the model is already built, follow the manual when removing a piece and stop if disassembly requires force. It may be better to choose a different detail for the first attempt.
Use a reference photo of your own unpainted part to mark the intended area. This gives you a clear endpoint and makes it easier to avoid expanding the job every time you notice another possible accent.
Choose paint by its directions
Vallejo’s Model Color information describes the range as designed for brush work. That makes it a relevant family to investigate for small details. Check the exact bottle, surface preparation, compatible thinner, and cleanup directions before using it.
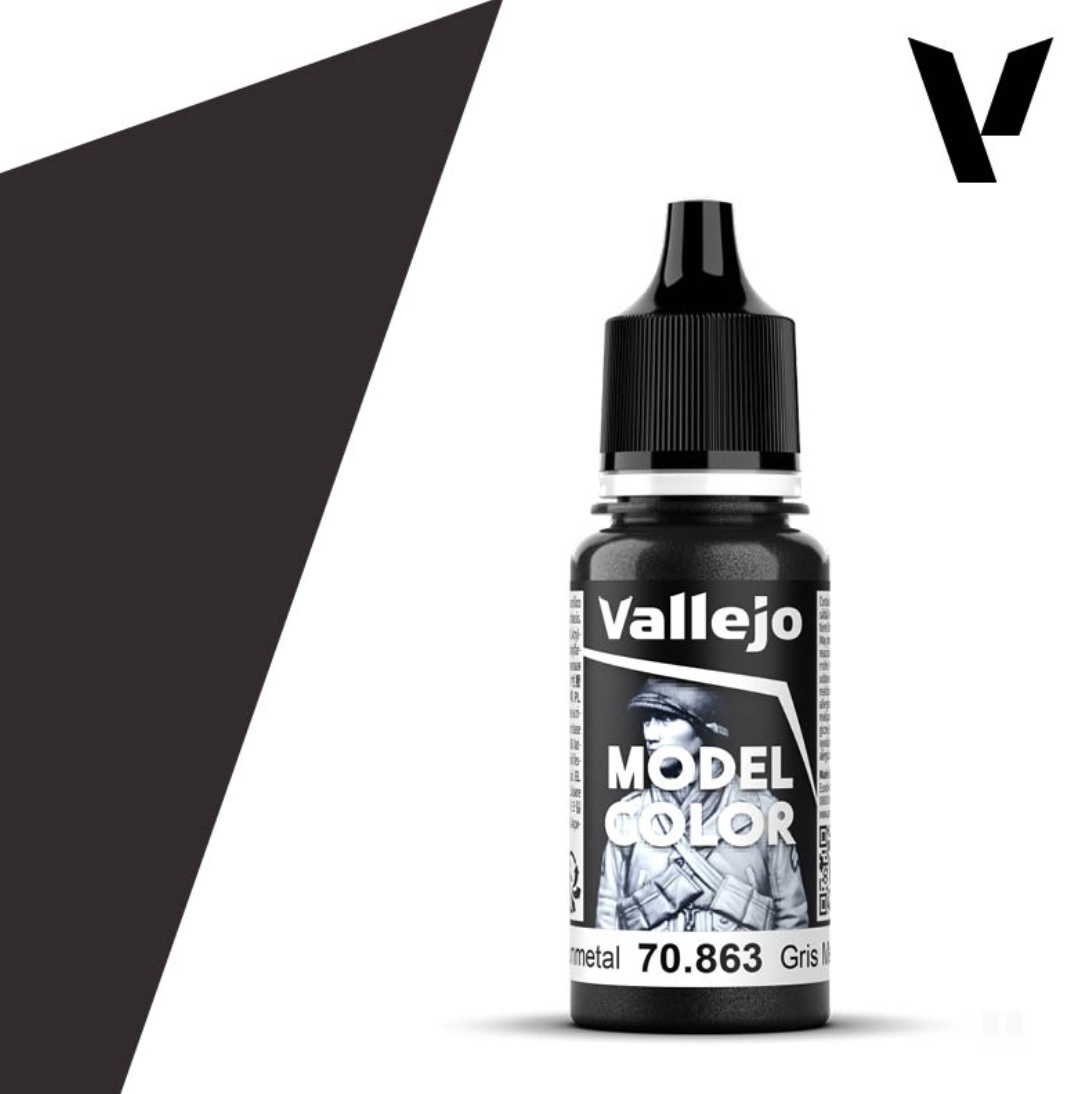
Vallejo Model Color Gunmetal is one color option in Artrovo Gundam’s catalog for a metallic accent. It is a color choice, not a promise of adhesion to every bare plastic or compatibility with every coating. The listing shows current availability.
Do not apply directions for an airbrush-ready paint, a solvent-based hobby paint, or a painting marker to a different bottle just because all are used on models. Keep the product name with your project notes.
Set up for steady hands
Use a stable work surface, good lighting, a small palette, an appropriate pointed brush, and the cleaning supplies specified for the paint. A brush that holds a useful amount of paint while keeping a point can be easier to control than an extremely tiny brush that runs dry immediately.
Support your forearms and hold the part so you can rotate it toward the brush. Bring the edge into a comfortable direction instead of twisting your wrist around the model. Keep a dry, clean area where the piece can rest without the fresh paint touching anything.
Use a holder only where it will not damage a peg or mark a visible face. Check the grip before opening the paint; discovering that a part spins in its holder mid-stroke is avoidable frustration.
Prepare and test before painting the model
Remove dust and contamination with a method suitable for the part, then allow it to dry. Follow the paint maker’s guidance on primer and adhesion. If priming a small detail, plan how to protect the surrounding molded colors.
Prepare a spare piece with the same relevant surface layers. Test the color, flow, drying behavior, and planned final finish there. A spare piece also gives you somewhere to practice a short line before touching the model.
Mix or shake the paint as instructed, then place a small amount on the palette. Add only the approved thinner when needed. There is no fixed thinning ratio that works for every color, bottle condition, brush, and detail.
Read the paint on the test piece
It leaves heavy ridges: check paint consistency, brush loading, and whether you are overworking a partly drying layer.
It floods beyond the boundary: reduce the brush load and reassess the dilution before trying again.
It beads or pulls away: stop and revisit surface preparation and compatibility.
It covers unevenly but stays controlled: let it dry as directed before deciding whether another thin layer is needed.
Change one variable at a time. If you simultaneously change the thinner, brush, primer, and application method, it becomes hard to understand what improved the result.
Paint a manageable section
Load a small amount of paint and remove obvious excess on the palette.
Make a test stroke to confirm control.
Paint the accessible center of the detail, then approach its boundary carefully.
Stop before repeated strokes begin disturbing paint that is setting.
Let the layer dry according to the product instructions before adding coverage or handling the part.
If you cross an edge, resist reaching automatically for a strong solvent. Use a correction method approved for the paint and underlying surface, tested first. Sometimes allowing the area to dry and carefully repainting the boundary is more controllable than chasing wet paint around a finished panel.
Finish the small project before expanding it
Inspect the dry result in display lighting. Check that moving surfaces remain clear and that any planned protective finish is compatible. Our topcoat guide explains how to test the complete layer sequence.
Record the color and preparation that worked. Then repeat the same detail on its matching part. Once that feels predictable, add a second color or a more demanding shape. A small finished improvement is a strong foundation for the next painting session.