The hardest part of a first miniature-painting session can be deciding where to begin. A wall of paint colors and a dozen techniques make the task look larger than it needs to be. Start with one miniature and a small, repeatable plan.
A good first goal is to distinguish the model’s main materials and finish its base simply. You can return later for sharper highlights, intricate eyes, or weathering. Completing a readable model gives you a much better basis for the next purchase than trying every technique at once.
Choose a model and a limited palette
Pick a miniature you enjoy looking at, with shapes you can comfortably see and reach. Identify its largest material areas: armor or clothing, a secondary fabric or equipment color, exposed skin if present, and metal where needed.
Choose a few colors for those areas rather than buying every shade in a reference image. A dark neutral and a light neutral can be useful additions, but your exact palette should follow the model. You do not need a separate paint for every tiny accessory on the first session.
Write the intended colors beside a simple photo or sketch. This prevents repeated decisions while paint is drying and gives you a record if you later paint another model from the same group.
Use the right type of paint
Choose paints intended for models and the method you plan to use. Follow the exact range’s instructions for surface preparation, dilution, and cleanup. A paint described as a wash, shade, contrast-style product, or drybrush paint may behave differently from an ordinary opaque base color.
For a concrete example, the Warhammer painting team’s hobby Q&A recommends a texture tool for thick basing products and warns that using a standard brush can damage its fine point. Read the intended application before choosing a tool solely by the color you want.
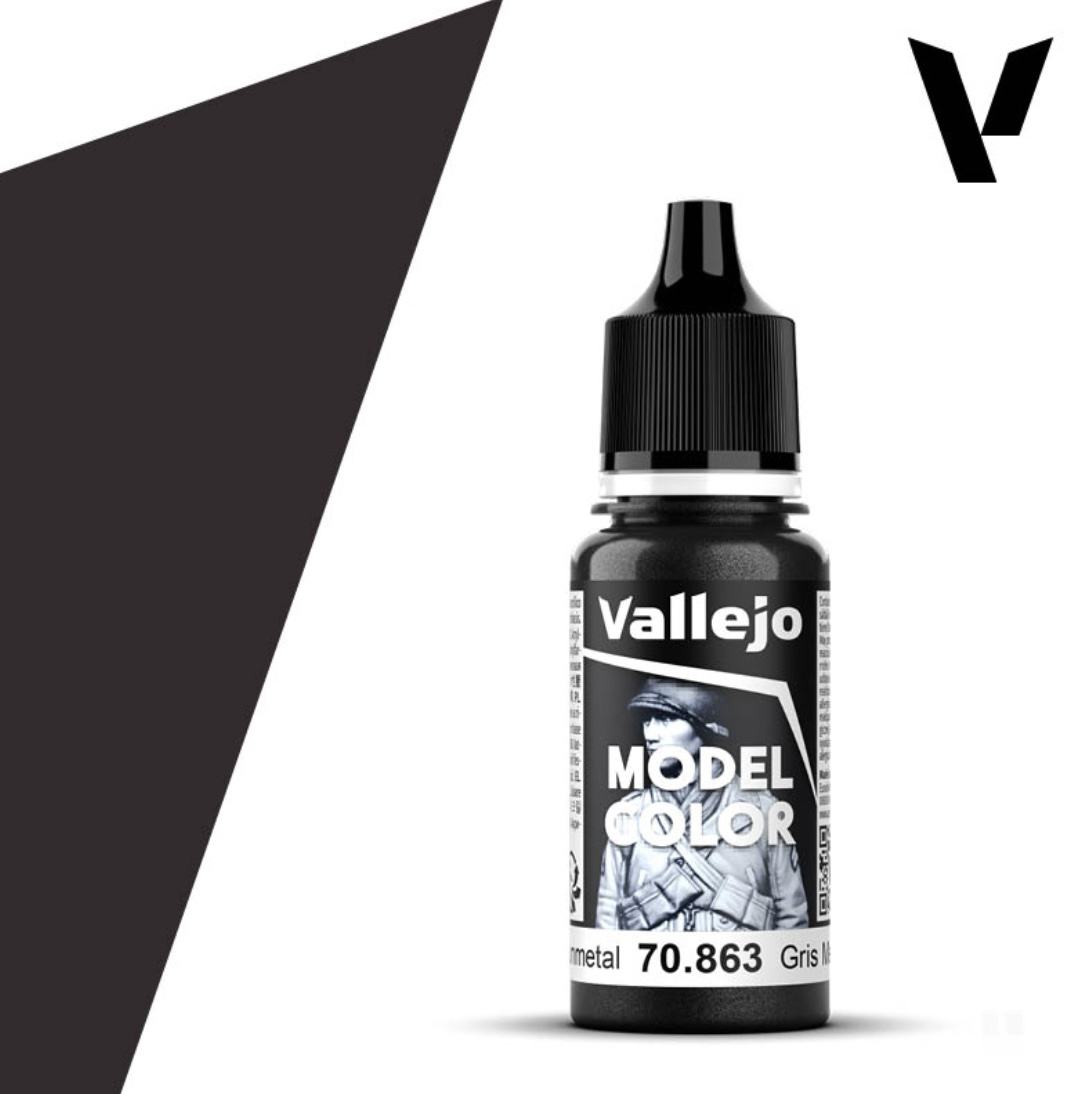
Artrovo Gundam’s Vallejo Model Color Gunmetal listing is an example of a metallic color to consider when your miniature needs one. Check the exact product guidance and current availability. One metallic accent does not require buying an entire metallic set.
Set up a small working area
Prepare steady lighting, a protected surface, an appropriate pointed brush, a palette, rinse water where suitable for the paint, and a clean cloth or paper towel. Keep drinking containers separate from brush-rinsing containers.
A brush with a dependable point and enough capacity to deliver a controlled stroke matters more than choosing the smallest number on a handle. Reserve a separate suitable brush for rougher techniques such as drybrushing if you add them later.
Support the miniature by its base or a holder that does not damage it. Rest your forearms and rotate the model to bring a boundary into reach. You should not have to balance the miniature by touching the area you just painted.
Prepare the surface before the session
Follow the model’s assembly directions and remove unwanted mold lines or gate remnants using suitable tools. Check the paint system’s cleaning and undercoating instructions. A clean, properly prepared model is a better starting point than attempting to conceal every surface problem under more paint.
If you use a spray undercoat, follow its ventilation, protective-equipment, environmental, and drying instructions. If that setup is unavailable, investigate a suitable brush-applied preparation product instead of spraying at the table. Let the preparation finish drying before the painting session.
Learn consistency with a test stroke
Place a small amount of paint on the palette and adjust only with a compatible diluent as directed. Try a stroke on a prepared spare surface. You want control appropriate to the task, not a universal ratio repeated for every bottle.
If paint floods beyond the area, check brush loading and dilution. If it leaves heavy ridges, reassess consistency and application. If it beads away from the surface, revisit preparation. Allow a test layer to dry before judging its coverage.
When you are ready for a later detail session, the same official painting Q&A covers highlights and other specific effects. Pick one technique to practice after your main colors are complete; you do not need to master all of them before beginning.
A manageable first sequence
Paint the largest areas. Establish the main color separation without chasing every tiny detail.
Let each layer dry as directed. Add coverage when needed instead of repeatedly working a layer that is already setting.
Add the secondary areas. Turn the model so each boundary is easy to approach.
Correct obvious overlaps. Use the surrounding color carefully once the affected area is ready.
Add one optional detail stage. Choose a controlled shadow or highlight exercise rather than several new effects.
Finish the base simply. Keep the visual treatment consistent with the project and product instructions.
Inspect at normal viewing distance before deciding it needs more work. A tiny imperfection visible under magnification may not matter to how the model reads on a shelf or tabletop.
Clean up and record what worked
Clean the brush using the paint maker’s approved method, paying attention to paint near the metal ferrule. Do not leave it standing on its point. Store the model where it can finish drying without handling.
Keep the color names and one note about the next skill you want to practice. If you enjoyed small detail work on Gunpla, our brush-detailing guide offers a related exercise. Browse Artrovo Gundam’s supplies for the specific missing item, then give yourself another session with the tools you already understand.