For most snap-fit Gunpla kits, start with plastic-model nippers and a small selection of sanding supplies. Add good lighting, a clear workspace, and a tray for loose parts. Tweezers are useful for stickers; painting equipment and premium cutters can wait.
The trick is buying tools for the build you want to do. A first kit assembled in its molded colors needs a much smaller setup than a custom-painted display piece. This guide focuses on that first, unpainted build.
Your first-build toolkit at a glance
Tool | When to add it |
|---|---|
Plastic nippers | First build* |
Sanding supplies | Nub cleanup |
Light + parts tray | Before building |
Tweezers | Small stickers |
Mat + hobby knife | Optional cleanup |
Liner + paint | Optional finishing |
*Except kits explicitly designed for tool-free removal.
Before shopping: check the box and manual for your exact kit. Bandai identifies some Entry Grade kits as tool-free, but that is not a promise about every model kit. Its Entry Grade RX-78-2 manual is an example of why kit-specific instructions matter.
1. Choose nippers made for plastic models
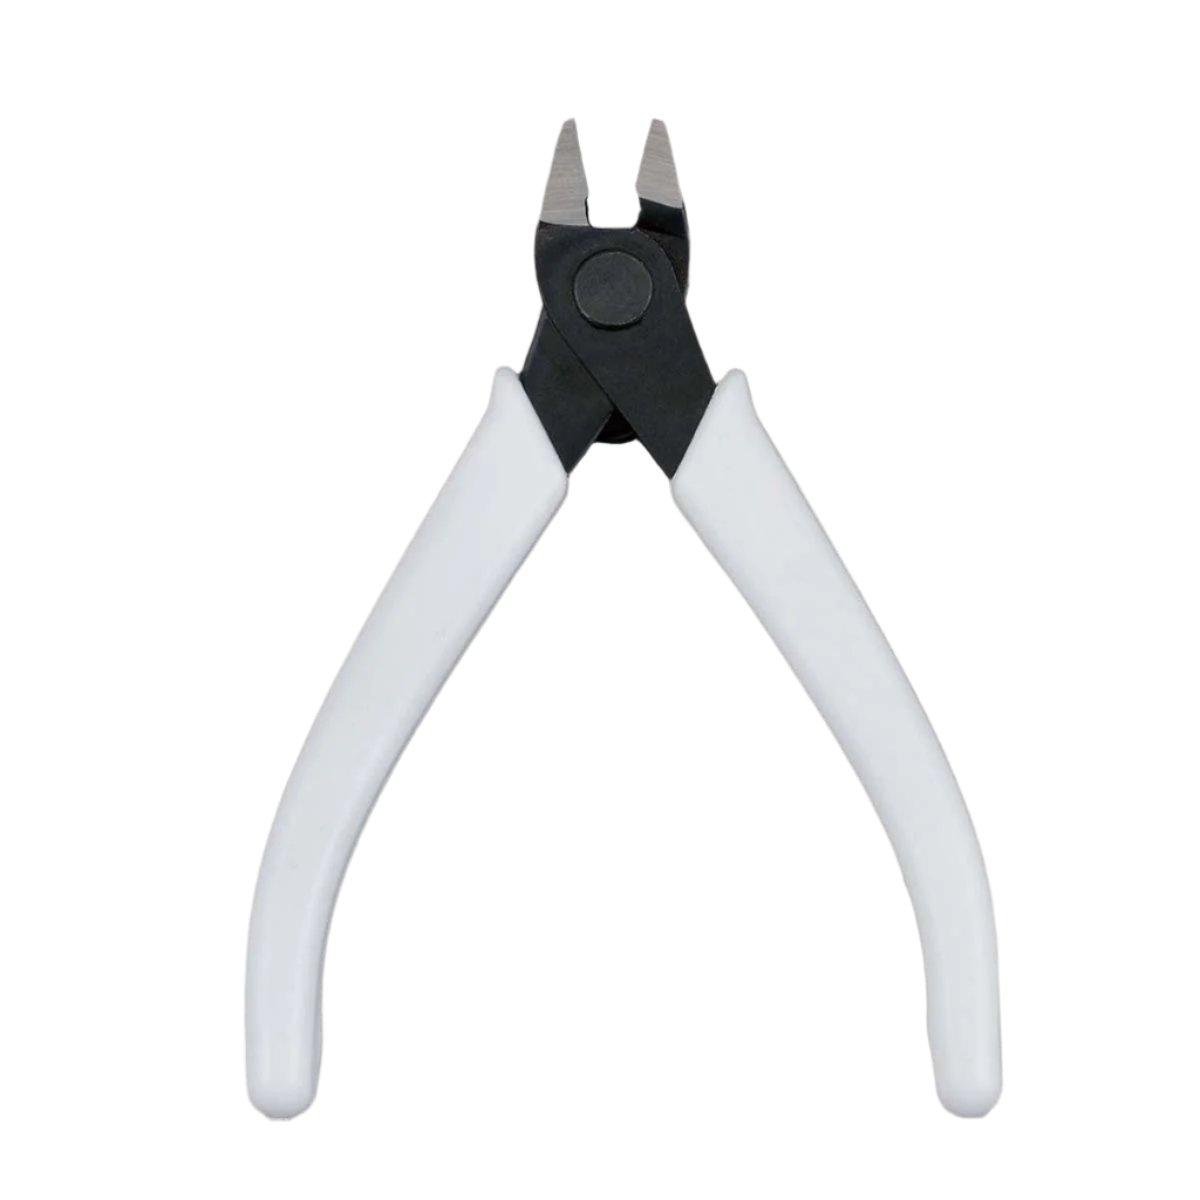
Nippers cut the narrow connections between a part and its runner, the plastic frame that holds the pieces. Those connections are called gates. The small remnant left on the part is commonly called a nub.
Look for a tool explicitly intended for plastic model parts. Small jaws help you reach crowded gates; a comfortable grip matters when you repeat the same motion through a build. Household scissors and nail clippers are awkward substitutes around delicate pieces.
The Bandai Spirits Entry Nipper is a straightforward starting option in the Artrovo Gundam catalog. Bandai includes Entry Nippers in its official modeling-tool range. Treat this as a tool to begin with, rather than a promise that every cut will be invisible.

Bandai Spirits Entry Nipper. Check the product page for available color options and current availability.
Do you need premium single-blade nippers?
No. A premium cutter can be a later purchase when you know which part of cleanup you want to improve. Delicate finishing cutters also have material and cutting-size limits. GodHand's Ultimate Nipper guidance, for example, places specific restrictions on clear plastic and on what may be cut. Follow the instructions for the cutter you own; a higher price does not make it suitable for every job.
For ordinary gates, leave a little material when freeing a part, then carefully reduce what remains rather than twisting the part off. Check the manual for unusual attachments or gates hidden underneath a part. Support the piece, keep fingers away from the jaws, and never force or twist the cutter through a cut.
2. Add a small sanding selection
Sanding supplies help reduce raised nubs and refine the surface after trimming. Start with a small assortment rather than a drawer full of abrasives. Within the same grit system, lower numbers are coarser and higher numbers are finer.
Our starting suggestion is a fine assortment around 600, 800, and 1000 grit, with finer finishing options if you want them. Begin with the finest abrasive that removes the remaining nub effectively. Use light pressure, inspect often, and work through finer grades to reduce scratches. This is a starting approach, not a guarantee of an invisible repair on every plastic.
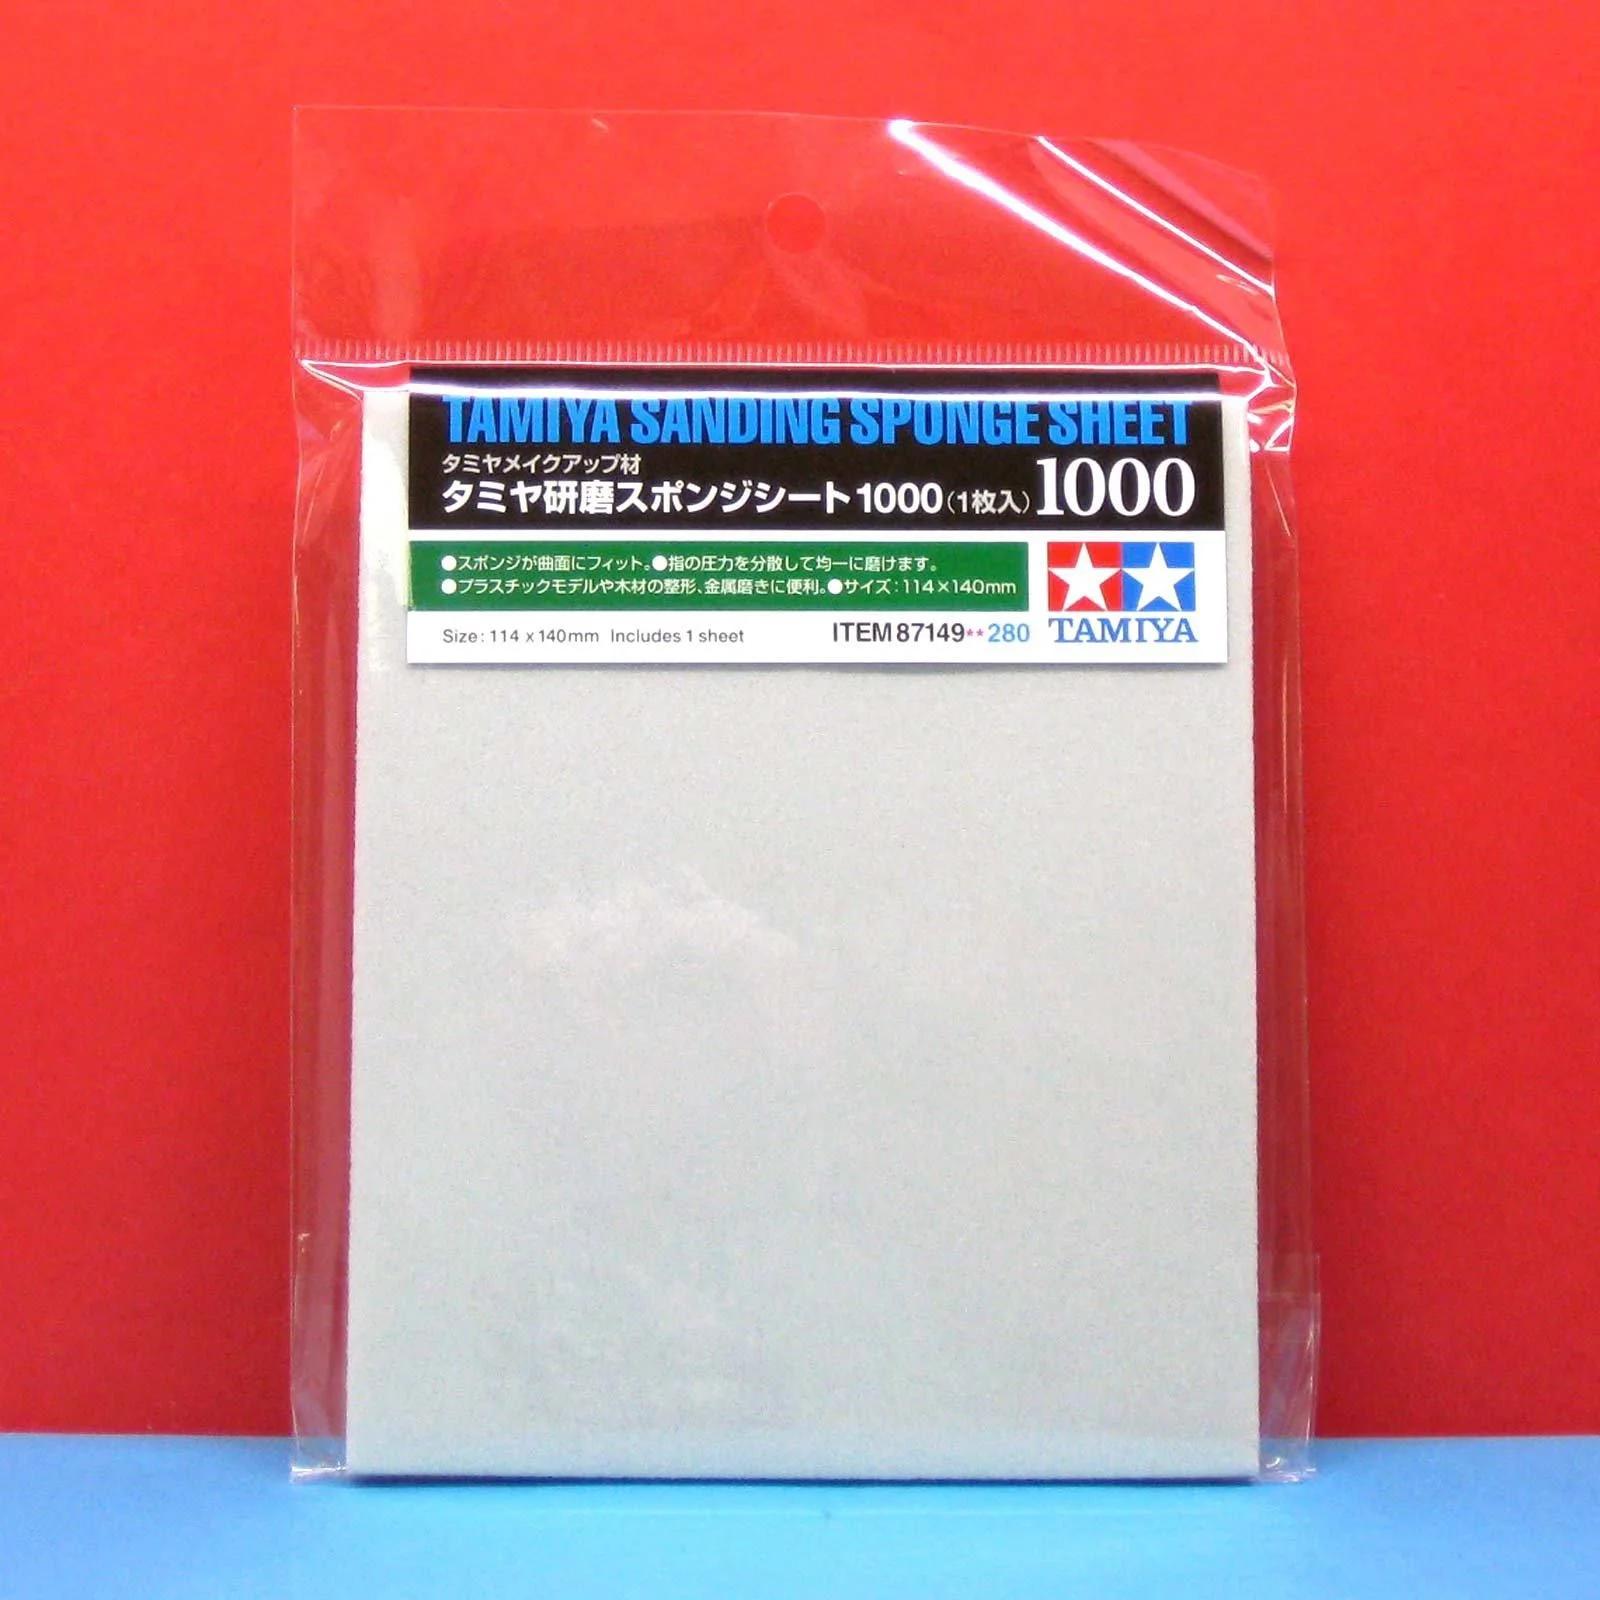
A rigid sanding stick helps preserve a flat face. A flexible sponge follows curved surfaces, but either can soften an edge if you keep sanding after the nub is gone. Tamiya describes its sponge-backed abrasive as flexible and suitable for smoothing cut joints on plastic models.
The Tamiya Sanding Sponge Sheet 1000 is one finer option in our catalog. It is a finishing step within a selection, not a complete grit progression by itself.
Practice on spare runner material first. Sanding changes the surface sheen, and removing more plastic will not necessarily erase a white stress mark. Stop before you reshape the part. Clear and coated pieces need their own approach; do not apply a general sanding routine to them without checking the instructions.
3. Use what you already have for organization
A desk lamp and a shallow, clean container can make a useful first workstation. Keep the manual open, leave space for the runners, and separate the parts for the step you are currently building. You do not need a branded organizer to begin.
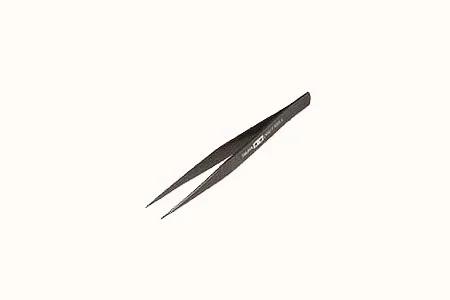
Fine tweezers can help place small stickers without covering the alignment marks with your fingertips. Tamiya Straight Tweezers are one option; a suitable pair you already own may be enough. Use a light grip so a small piece does not spring away.
A cutting mat becomes important if you use a hobby knife. A parts tray is not a substitute for a cutting surface. A knife is optional for this starter setup: if you are uncomfortable with one, begin with controlled trimming and sanding. Follow tool age guidance and supervise younger builders appropriately.
What can wait until after your first build?
Panel lining: an optional way to emphasize molded details. Choose a product compatible with the plastic and finish, then follow its own application and cleanup instructions.
Paint and an airbrush: useful when you want to change colors or explore finishing, but not part of this basic snap-build toolkit.
Scribing tools: intended for adding or deepening surface lines. Learn the original kit's assembly before planning that modification.
Multiple premium cutters: buy an upgrade when you can name the problem it should solve.
One detail worth checking: “Gundam Marker” describes a range of products, not a single formula. Mr. Hobby's GM01 product guidance warns that it can affect underlying paint. Do not assume every marker wipes away with water or behaves the same over every finish.
Build a small shopping list
For a typical first snap-fit kit, we would begin with:
One pair of plastic-model nippers, unless your kit specifically uses tool-free removal.
A small selection of sanding supplies for cleanup.
A lamp and parts tray from home.
Tweezers only if you need them for the stickers or small pieces.
Compare the contents of a starter set against that list. A larger piece count is only helpful if the included tools have a job in your build. Leave room in your budget for the kit itself.
Start with the Bandai Spirits Entry Nipper, then choose cleanup supplies to match your finish goals. Use each product page for current pricing and delivery estimates. Artrovo Gundam distinguishes on-hand stock from distributor-sourced items; distributor orders come to our shop before shipping to you.
Common first-tool questions
Do I need glue?
Usually not for a modern snap-fit Gunpla build, but follow your exact kit's manual. Do not add glue to a moving joint simply because it feels unfamiliar during assembly.
Can I build without painting or panel lining?
Yes. You can enjoy a kit in its molded colors and decide on extra finishing later. Complete the basic assembly before buying supplies for a technique you may not want to use.
Should I buy all the tools before choosing a kit?
Choose the kit first, then check its instructions. That avoids buying cutters for a tool-free kit or overlooking a specific requirement. For help with grades and kit selection, continue with Artrovo Gundam's beginner guide to Gunpla.
Product guidance checked September 10, 2026. Cover: AI-generated editorial illustration of a starter workspace; the illustrated tools are not exact product depictions. Product image: existing Artrovo Gundam catalog.