Updated September 11, 2026.
Gunpla is the hobby of building Gundam plastic model kits. For a first project, choose a design you like, check the exact kit's age guidance and tool requirements, and build one section at a time. You do not need to know the anime's story or buy a complete painting setup before you begin.
This guide takes you from choosing a box to putting the finished model on display. Start with assembly; you can decide later whether painting, panel lining, decals, or customization appeal to you.
Choose a first kit you want to finish
An Entry Grade or High Grade Gunpla is a useful place to begin your search. Look for a design you enjoy and inspect the product description, included equipment, and instructions. Avoid choosing solely because a box is described as advanced or because someone else finished it quickly.
Grade and scale are different. Grade names identify product lines; scale describes size relative to the subject. Two different mobile suits at the same scale may still take up very different amounts of space.
Entry Grade: a focused introduction; check the specific kit for tool-free assembly features.
High Grade: a broad range of designs, commonly in a compact 1/144 format.
Real Grade: compact models with an emphasis on detailed construction.
Master Grade: commonly larger 1/100 projects with more involved internal assemblies.
Perfect Grade: a substantial display project to plan for deliberately.
SD: stylized proportions across several sub-lines; read the exact product details.
See Bandai's product-line overview for the manufacturer's descriptions. These labels are not standardized build-time estimates. A kit's version, accessories, and construction matter as much as its grade.
Browse the Artrovo Gundam Gunpla and mecha department, then check the current availability and delivery estimate on the kit you choose. On-hand stock differs from distributor stock: distributor orders come to our shop before shipping to you. Full-kit listings are for complete kits; spare-runner trading belongs on the Bounty Board.
Buy the tools for the first job
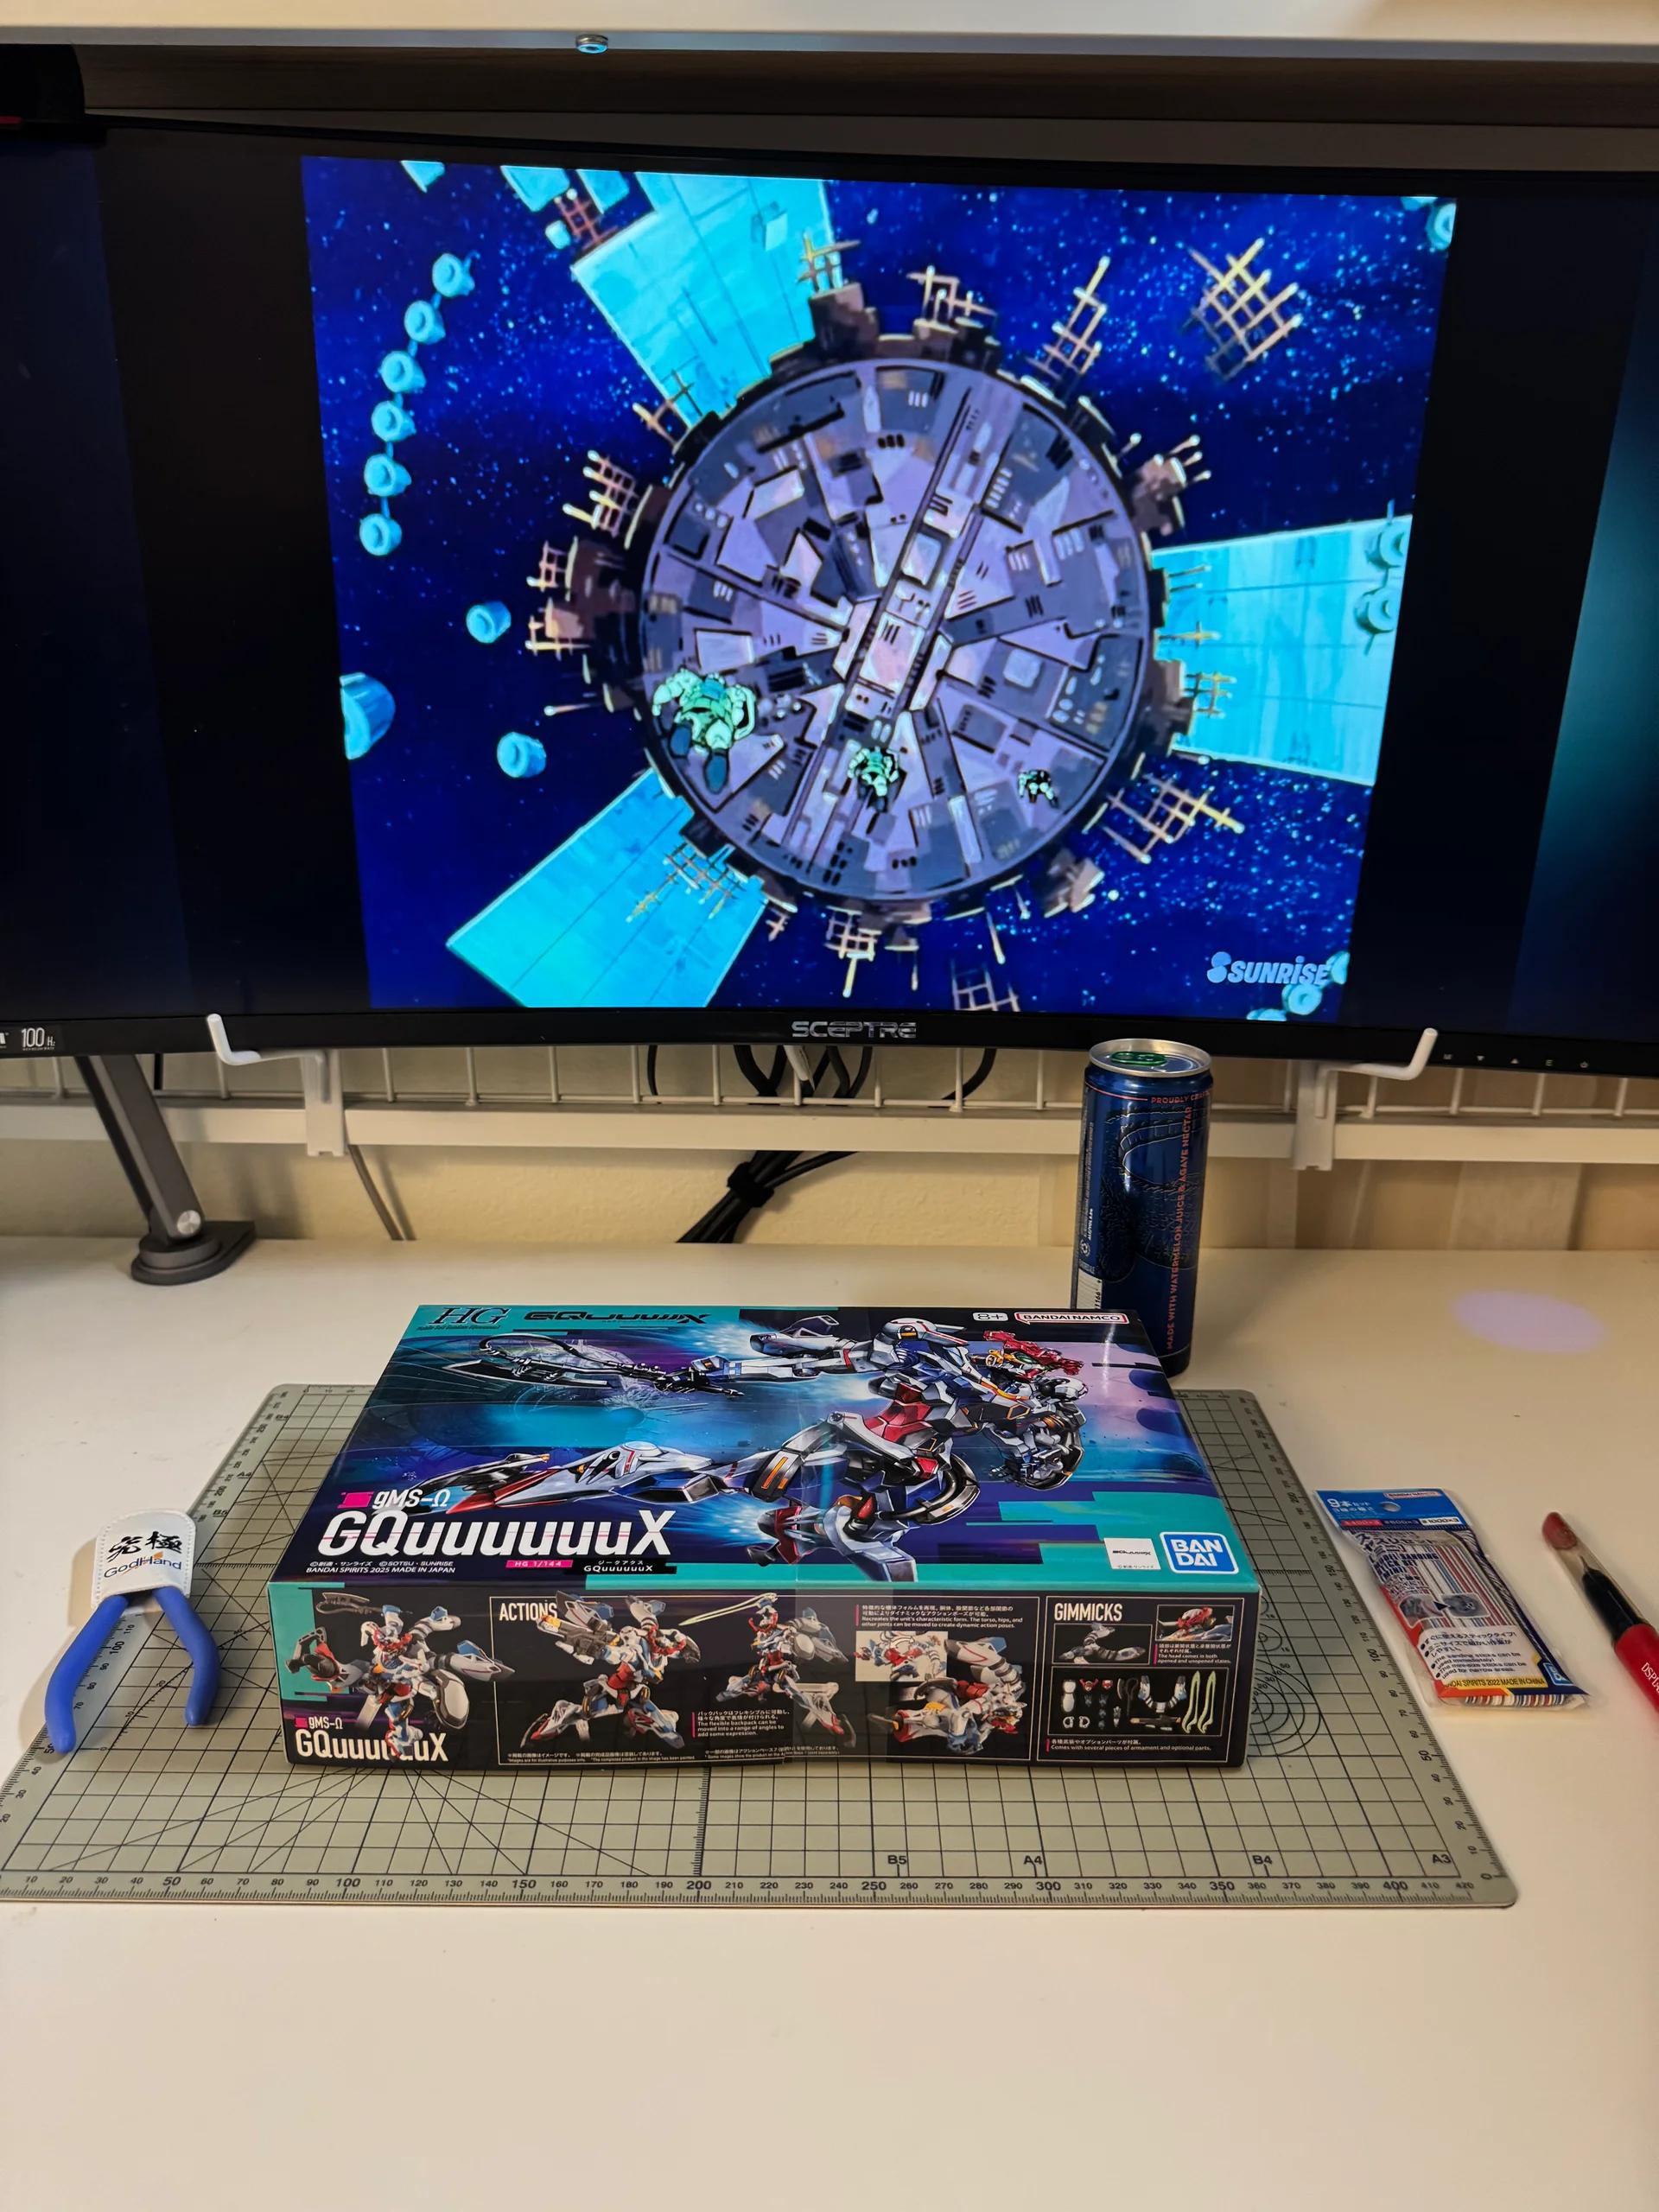
For a conventional snap-fit kit, begin with plastic-model nippers, a small selection of suitable sanding supplies, good lighting, and a tray to keep parts from wandering. Tweezers can help with small stickers. A hobby knife is optional and needs a cutting mat and careful handling.
Some kits have gates designed for removal by hand. Check the actual manual—such as the Entry Grade RX-78-2 instructions—before assuming tools are required or that you should twist pieces off a conventional runner.
Our Gunpla Tools for Your First Build guide explains the starter supplies and which upgrades can wait. Budget for the whole first project, including shipping and required tools, rather than comparing kit prices alone.
Before the first cut
Read the opening pages. Learn the safety notes, part-number system, arrows, and assembly symbols before skipping ahead.
Check the runners. Match the contents against the manual's runner map, including stickers, decals, and any loose accessories.
Make a clear workspace. Keep food and drinks away, arrange the runners so their labels are visible, and use a tray for loose pieces.
Start with the first assembly step. Cut only the pieces you need for that section so similar-looking parts remain identifiable.
If something seems missing, stop and check both the parts map and packaging. Photograph the issue and keep your receipt and box while you contact the seller or consult Bandai's current replacement information. Do not assume an empty spot on a used or partially completed runner was meant to contain the part you need.
Cut and clean up with control
For a conventional gate, support the part and make an initial cut away from its finished surface. Once the part is free, reduce the remaining stub gradually using a tool suitable for the material. Leave a little raised plastic for controlled cleanup instead of digging below the surrounding surface.
Follow the tool manufacturer's material and thickness limits. Fine nippers are not general-purpose cutters for wire or every thick runner section. Reposition the part when access is awkward; do not twist the blades sideways to pry a gate loose.
Use light sanding to level the nub while preserving the part's shape. A firm backing helps on flat faces; a flexible abrasive can follow curves. Start with a gentle approach on matching scrap, then use progressively finer abrasives as needed to refine scratches.
A raised nub, a white stress mark, and a cut gouge are different problems. More sanding does not always remove discoloration, and it cannot replace plastic already cut away. Stop before changing the panel's shape. Clear, plated, coated, or painted surfaces need finish-specific treatment.
Assemble one section at a time
Read the entire step before pressing parts together. Check front versus back, left versus right, and any instruction to repeat or mirror an assembly. Similar pieces may have slightly different pegs or sockets.
If a joint does not seat, stop and compare the parts with the manual. Look for a remaining gate on the mating surface or a reversed component. Do not treat extra force as the default solution, especially around thin pegs, fins, and clear parts.
Move joints only in the direction and sequence shown. Keep optional hands, weapons, and display adapters in a labeled container. At a stopping point, note the manual step and store the current subassembly safely so restarting does not become a guessing game.
Stickers, decals, and panel lining can wait
Follow the kit's instructions for stickers and markings. Peel-and-stick labels, dry transfers, and water-slide decals use different methods. Check what came in the box before putting a marking sheet in water.
Panel lining is optional. Choose a product appropriate for the plastic and any existing paint, and read its cleanup instructions. “Gundam Marker” is not one universal formula with one cleanup method. For example, Mr. Hobby's GM01 guidance warns about interaction with certain underlying paints. Test on matching scrap before applying a new product to visible armor.
Painting and topcoating are separate finishing projects. They are not prerequisites for enjoying a first snap build. If you add them later, follow the exact product's compatibility, ventilation, drying, and handling instructions rather than stacking unfamiliar materials at once.
Set up the finished model
Begin with a simple pose on a level surface. Support the model as you adjust it and make sure the feet or intended stand connection are secure. A heavy backpack or extended weapon can change the balance.
Use the adapter and display base specified for the exact kit where required. Check whether a stand shown in a promotional photograph is included or sold separately. Allow shelf room for wings, weapons, and the support arm, not only the model's height.
Keep the build away from direct sunlight and heat sources. Use a clean, soft brush for gentle dusting, and support the model when moving it. Save the manual and labeled spare accessories for later pose changes.
Common first-build questions
Do I need to watch Gundam first?
No. You can choose a kit for its design and explore the story later if you want.
Do I need glue or paint?
Many modern Gunpla kits are designed for snap-fit assembly with molded colors. Check the specific instructions for any exceptions or additional requirements. Painting is an optional way to change the result.
How long should a first build take?
There is no useful deadline. Kit construction, cleanup, markings, and your own pace all affect the time. Plan comfortable sessions and stop at a clear manual step.
Can I choose a kit for a child?
Use the age recommendation on the exact package and consider the tools and small parts involved. Arrange appropriate adult help instead of assigning one age threshold to a whole grade.
What if I lose a piece?
Identify the kit version, runner letter, and part number first. Check the original packaging and workspace, then pursue seller or manufacturer support or a genuine spare through the Bounty Board. A detailed request is easier to match than a description of the part's general shape.
Start with one kit
Choose the design, gather the required tools, and read the manual before cutting. You can learn the rest a section at a time. When you are ready, find your first kit at Artrovo Gundam and use the tools guide to keep the initial shopping list focused.