A more expensive nipper is worth considering when it solves a repeated problem in your builds. It is less useful when you expect it to remove every trace of a gate, handle any material, or compensate for awkward cutting access.
Keep a suitable general plastic-model nipper for ordinary cutting. Add a single-blade finishing nipper when your workflow, access, and the tool’s material limits justify it. You can build a satisfying model without making that upgrade immediately.

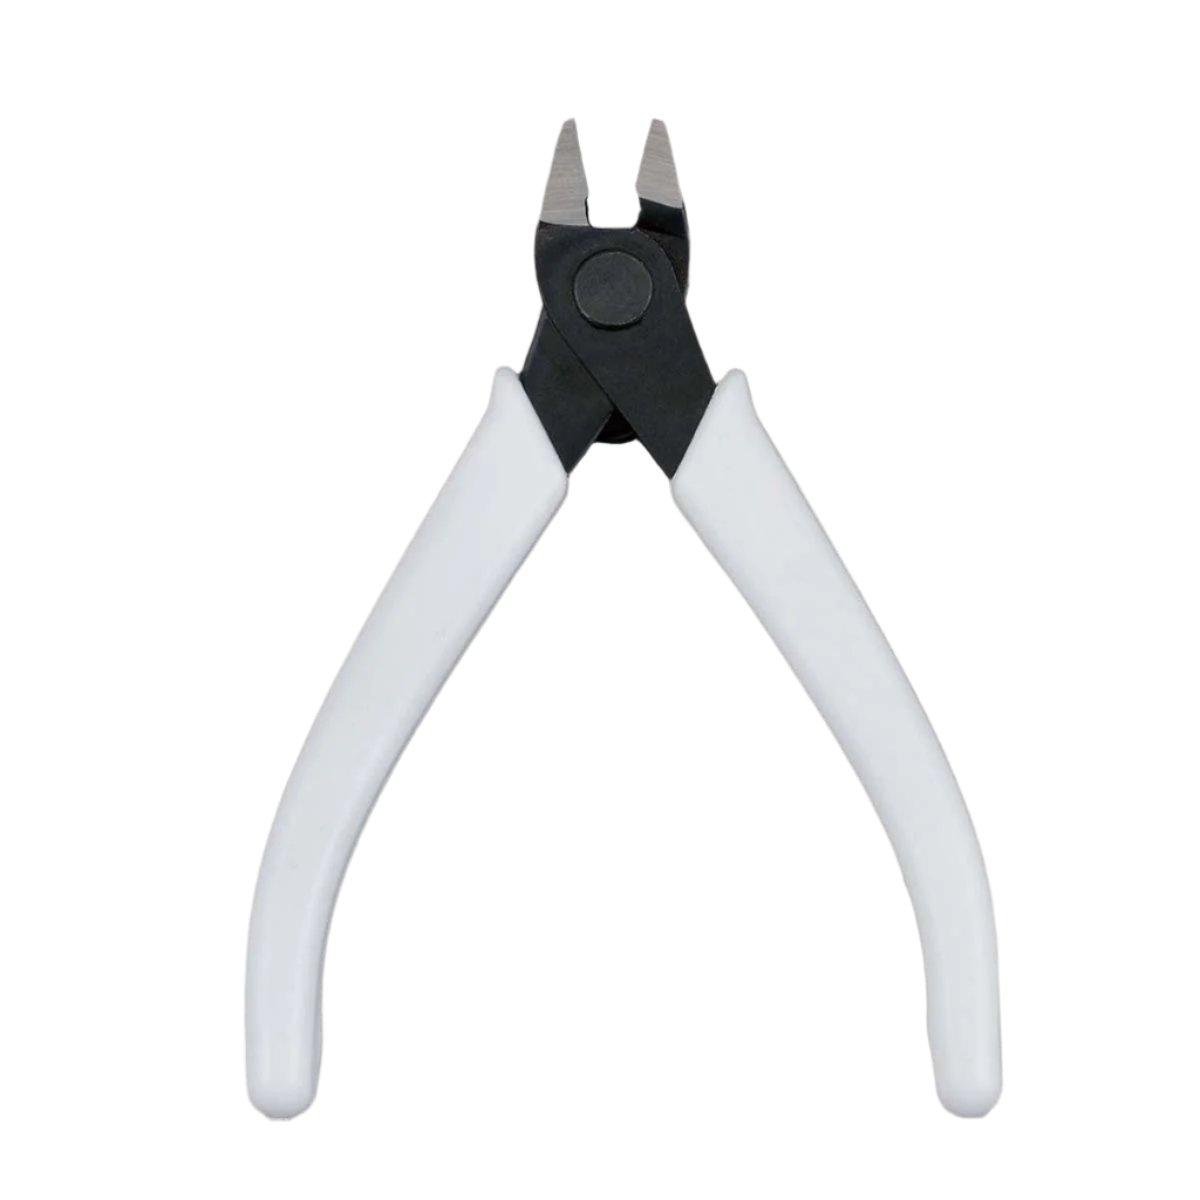
A catalog example for a first toolkit; check the listing for current availability.
What the blade arrangement changes
A double-blade nipper has two cutting edges closing toward one another. A single-blade design uses a cutting edge working against a supporting side. The arrangement affects how you position the tool, so copying your old grip without reading the new instructions can be a poor start.
“Single blade” is a category, not a common specification shared by every product. Blade thickness, opening limits, handedness, approved materials, and cutting capacity still belong to the exact model. Nor does a double-blade designation make a tool suitable for wire, metal pins, or every thick runner.
First cut and finishing cut are different jobs
The first cut releases a part while leaving enough gate material to protect the surface. The finishing stage reduces the remaining gate with a controlled cut and, where needed, a file or abrasive. Your nub-removal workflow matters alongside the tool choice.
A two-tool setup can reserve a more delicate finishing tool for cuts within its intended capacity. That setup is convenient, but it is not a requirement to own two nippers before starting. If your current tool works properly, practice controlled access and leave room for cleanup first.
Before a close cut, ask whether the blade can sit in the intended position without pressing against a neighboring part or a raised detail. If not, change the approach or use another appropriate cleanup method. Do not twist a trapped blade to make room.
Read one real specification, not a category slogan
GodHand’s Ultimate Nipper Q&A limits ordinary rod-shaped plastic cuts to 3 mm or less. For clear or translucent PS, it limits use to gates of 1 mm or less and excludes thicker gates and clear runners. It also excludes sheet plastic and runner tags. These are restrictions for that tool, not dimensions to apply to every other nipper.
The same guidance identifies a left-handed version. Handedness is therefore a practical buying detail, especially if the blade arrangement feels awkward in your normal working hand. Check the exact version instead of assuming all listings show the same tool.
Upgrade when you can name the benefit
You repeatedly spend time on accessible finishing cuts. A dedicated finishing tool may fit the way you already work.
You understand what it must not cut. You are willing to keep another suitable tool available for excluded jobs.
Your current nipper is functional. You can distinguish a desired refinement from replacing a damaged or unsuitable tool.
You build often enough to value the difference. Your own pace and budget matter more than someone else’s premium-tool checklist.
Wait if you have not yet finished your first kit, if most of your concern is sanding technique, or if the purchase would leave you without the basic supplies needed to complete a build. A premium cutter is an optional refinement, not an entry ticket to the hobby.
Inspect the tool you already own
Look for visible damage, debris, and an action that no longer feels normal. Follow the maker’s maintenance directions rather than improvising blade alignment or sharpening. Stop using a chipped or misaligned tool until you have manufacturer guidance.
Keep cut plastic from accumulating around the joint. Store the nipper so other tools do not strike its edges. If its maker specifies lubrication, use the recommended maintenance method and keep residue away from surfaces you intend to paint.
Good storage is an inexpensive part of the decision. A delicate tool loose in a crowded drawer is a poor match for a workbench where everything has to be packed away quickly after each session.
A practical beginner purchase
The Bandai Spirits Entry Nipper is a starting option to consider in Artrovo Gundam’s catalog. Read the listing and included instructions, and check its current availability. This guide is a buying framework, not a hands-on comparison claiming measured cut quality between products.
If you already own a serviceable plastic-model nipper, finish one build before deciding what frustrated you. Was it the grip, the access, the rough cut, or the time spent matching the final surface? Those answers point to different purchases.
Questions to answer before checkout
What exact material and maximum cut does the manufacturer permit?
Is this the correct handed version and grip for me?
Which jobs will remain with my existing tool?
Do I have a safe place to store it?
Will the remaining budget cover the kit and cleanup supplies I actually need?
For the rest of a beginner setup, see Gunpla tools for your first build. Buy the next tool to solve an observed problem, then learn its limits before using it on a favorite kit.