Before putting a marking sheet in water, identify it. Gunpla stickers, dry transfers, and waterslide decals use different application methods. A beautifully printed sheet is not automatically a waterslide, and the color of its backing paper is not enough to decide.
Read the kit manual or the separate decal package first. Look for explicit instructions to peel, rub down, or soak and slide. Keep the packaging until the model is finished so you retain the product name and application guidance.
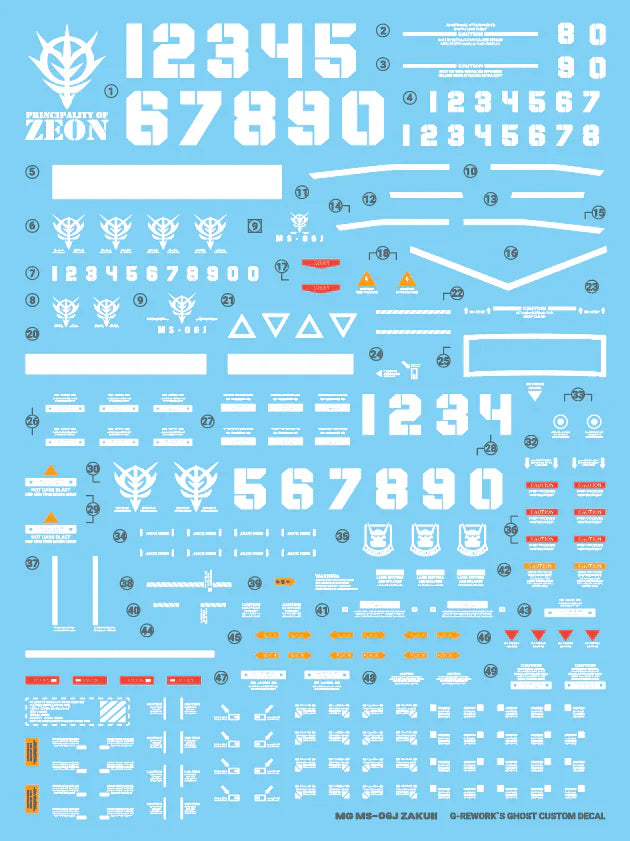
Catalog image of a kit-specific decal sheet. Compare the exact release before choosing.
Three types, three starting points
Stickers: peel the adhesive marking from its backing and position it. Water is not the normal release method.
Dry transfers: position the carrier film and transfer the marking with the pressure or rubbing method specified by its maker. Check alignment before committing.
Waterslide decals: water releases the marking from its backing so it can slide onto the model. Timing and handling depend on the sheet.
A kit may include more than one kind of marking. An aftermarket sheet may replace or supplement the supplied markings rather than match them one for one. Compare the placement guide, sheet numbering, and exact kit version before cutting anything.
Choose a small first area
Start with one accessible, relatively flat armor panel and one modestly sized marking. A wraparound stripe, tiny paired warning label, or decal crossing several moving parts makes a demanding first attempt.
Lay out the parts and decide which markings you actually want. The placement guide is useful even if you prefer a sparse finish: it lets you select a deliberate group rather than discover halfway through that you used a matching pair on unrelated surfaces.
For waterslides, prepare a shallow water container, tweezers for handling the backing, a clean soft brush, a soft swab or cloth, and a cutting surface. Use a separate holder for the model part so you do not have to grip the freshly marked area.
Prepare the surface, not just the decal
Remove dust and visible contamination using a method compatible with the plastic or painted surface. Let it dry. If you are building a painted finish, plan the paint and clear-coat system before applying markings; do not introduce an unfamiliar coating simply because a tutorial used one.
A clear carrier film can become conspicuous over a rough surface. That is one reason modelers plan a smooth decal stage before choosing a final matte appearance. However, the correct preparation still depends on the decal and finishing products. Test the proposed combination on a spare surface with an unused marking when possible.
Apply a waterslide one marking at a time
Check the placement. Identify the correct side and orientation on the guide while the decal is still safely on its sheet.
Separate the selected marking. Cut around its backing without cutting into the printed design or a neighboring marking.
Wet according to the sheet’s instructions. Wait until the decal releases; do not force a stuck film off the paper. There is no universal soak time for every sheet.
Bring the backing close to the target. Slide the released marking into place with a damp soft brush, supporting it rather than carrying a large unsupported film through the air.
Align before removing excess moisture. Check the neighboring edges and the model’s upright orientation.
Remove excess water gently. Use the sheet maker’s method and avoid dragging the marking sideways. Then leave it undisturbed for the specified drying period.
Work in small groups. A completed shoulder is easier to manage than a wet torso covered with markings that you still need to rotate and hold.
Setting solutions are product-specific
Do not assume every bottle labeled “setter,” “softener,” or “fit” follows the same sequence. For example, Tamiya Mark Fit 87102 instructs users to apply it at the target area, place and position the decal, gently remove excess water, apply it over the decal, press gently, and let the decal dry completely. That is guidance for this product, not permission to handle every softened decal in the same way.
Read the directions for both your decal and your solution. If the film wrinkles or becomes delicate, avoid repeatedly poking it while trying to make an instant correction. Follow the product’s waiting instructions and inspect after drying. A stronger solution is not automatically a better beginner choice.
Match the sheet to the kit
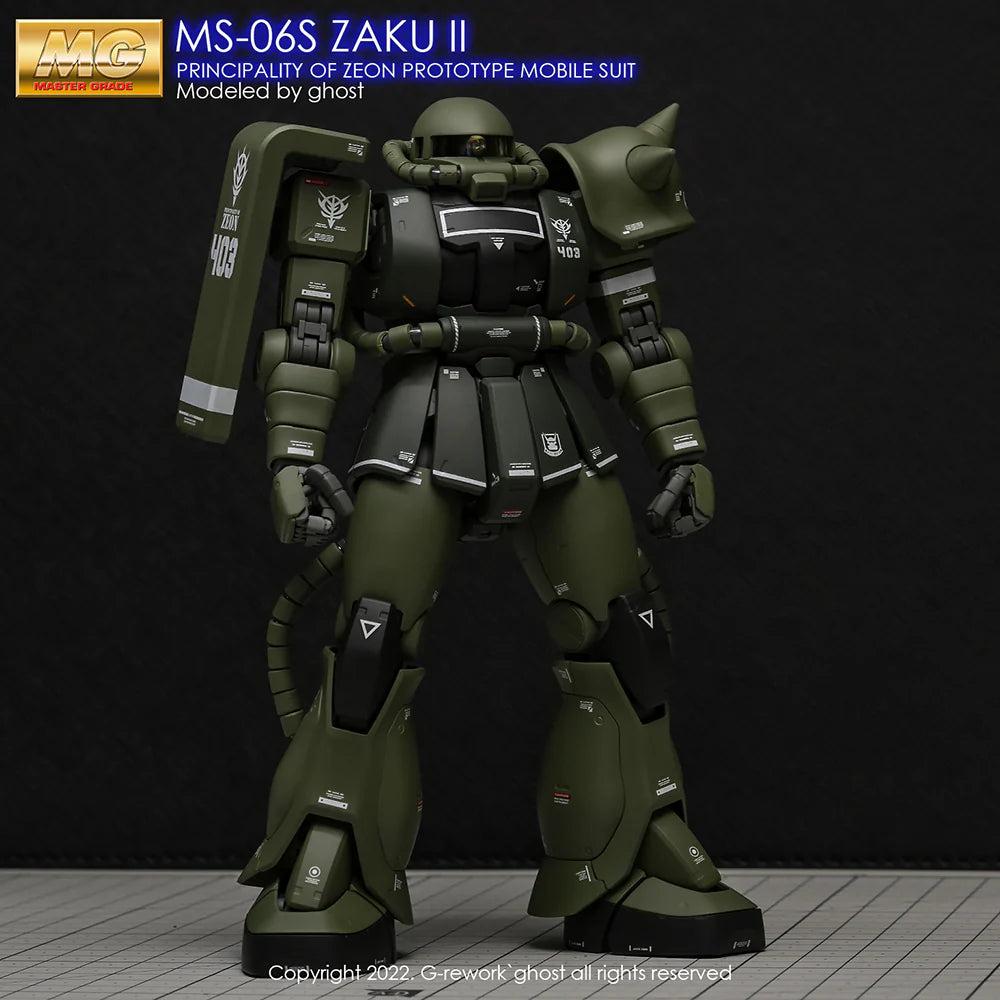
The G-Rework 1/100 MG Zaku II 2.0 Custom Decals listing is an example of a kit-specific purchase. Check its named version and placement information against your box and manual. The words “Zaku” or “1/100” alone do not establish an exact match for another release.
Use the listing for current availability; this guide does not reserve stock. If you cannot confirm the match, send Artrovo Gundam the exact kit name and decal product name through contact before choosing.
Before the final finish
Inspect each marking after it has dried. Check orientation, trapped moisture, lifted edges, and whether you can still handle the part without touching the film. Choose and test the final clear coat with the actual decal and paint combination. Coating an unresolved placement problem makes it harder to address later.
You can finish a model with only a few well-placed markings. Start with the markings that add the most character, learn how that sheet behaves, and expand the project when the process feels predictable.