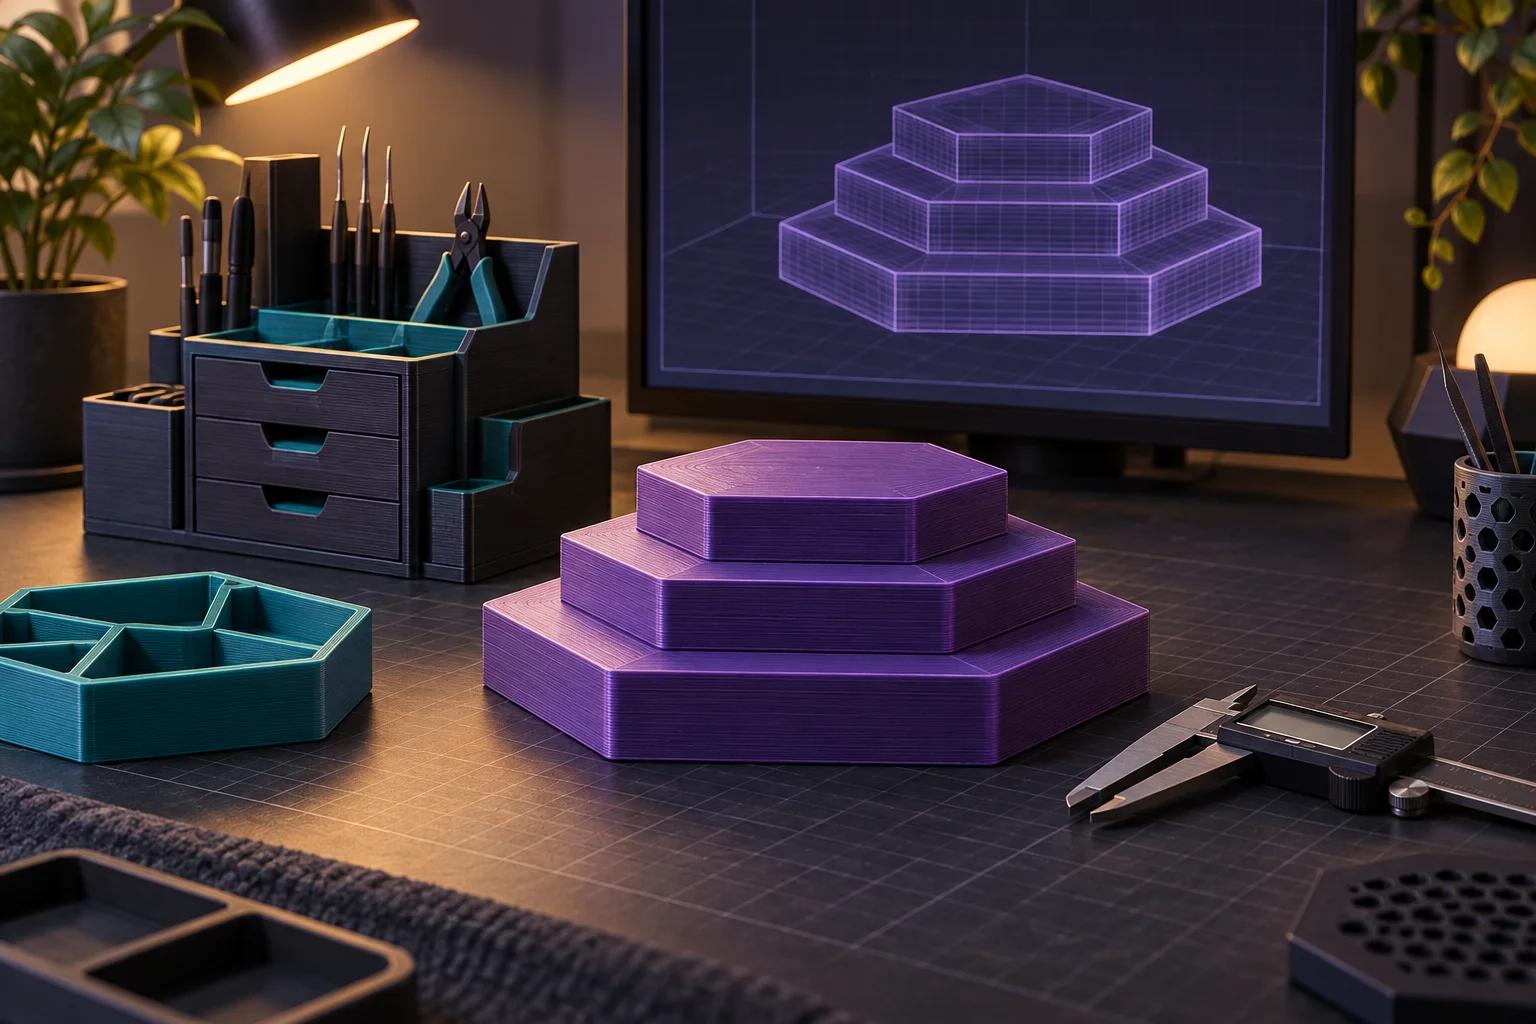
A useful custom-print request explains what the part should do, how large it should be, and which surfaces or connections matter. A file alone describes the shape; those extra details tell the printer what a successful result needs to achieve.
Artrovo Gundam offers FDM printing for original or authorized custom designs. Good starting projects include display platforms, hobby organizers, and custom accessories designed for the process. Here is what to prepare before you request a quote.
Start with the job, not the material name
Write one sentence explaining the purpose. “A riser for the back row of my indoor model display” is more useful than “print this in the strongest plastic.” Add the dimensions, expected load, and any exposure to heat, sunlight, moisture, or repeated bending.
For a decorative piece, say which side faces the viewer. For an organizer, identify the objects it needs to hold. For a custom adapter, describe the connection and how often you expect to assemble or remove it. These details can affect the material, orientation, and whether a small test piece is sensible.
Keep the scope clear: original custom work belongs in the printing service. Artrovo Gundam does not reproduce official kit parts. If you need a genuine missing runner or manufacturer-made component, start with manufacturer support or the Bounty Board.
Prepare the right file
Our design guide lists STL and 3MF as accepted formats, with a 100 MB maximum file size. G-code is not accepted. A photograph, sketch, or screen capture can explain an idea, but it is not a ready-to-print model file.
STL is useful for a straightforward geometry-only model. A 3MF file can preserve units, material information, and color assignments that STL does not carry in the same way. For a multicolor request, use the supported 3MF workflow and still describe the intended colors clearly. File contents do not guarantee that every embedded printer setting or material is available.
Keep an editable source copy of your design before exporting. Open the exported file again and check that all intended pieces are present, that surfaces form a printable solid, and that the size is what you intended. A model that looks fine from the front may still contain an open surface or an unintended internal shell.
Confirm dimensions in millimeters
Record the final width, depth, and height. For a fitted part, add the critical measurements: hole diameter, peg diameter, spacing between holes, pocket depth, or clearance around the object it holds. State the measurement units explicitly.
Scaling the whole model changes every feature, including holes and wall thickness. If you make a display platform wider by scaling it, check that a mounting hole has not grown beyond its intended size. If only one feature needs to change, revising the source design is usually clearer than applying an overall scale factor.
Use a sketch or annotated screenshot to show which dimension refers to which surface. You do not need a polished technical drawing for a simple project; readable labels and consistent units matter more.
Leave room for real-world fit
Two shapes that meet perfectly in a digital model may bind when printed. Prusa's design guidance explains the need for tolerances and iteration when making parts fit together. Geometry and material behavior both matter.
Artrovo Gundam's current guide gives an FDM wall-thickness starting minimum of 1.2 mm, recommends 1.6 mm or more for structural walls, and calls for at least 0.3 mm clearance for moving parts. Treat these as design starting points, not a strength rating or a guarantee of fit for every shape.
A thin upright tab, a long arm, and a broad flat base can behave differently even when their walls share the same nominal thickness. For a connection that matters, describe whether it should slide freely, locate loosely, or be secured with separate hardware. A small fit sample can save revising an entire large print.
Decide which finish matters most
FDM builds a shape in layers, so layer texture is part of the process. A finer layer setting can change surface appearance, but it does not turn every underside or supported region into a smooth molded finish.
Mark the visible face and identify any areas where support marks would be especially distracting. Prusa's support-material guidance explains why orientation or splitting a model can reduce overhangs and required support. For a custom project, that may be a useful tradeoff: an assembly seam in a hidden area can be preferable to support contact across the face you plan to display.
Tell us if you intend to sand, prime, or paint the piece afterward. Do not assume a print quote includes a painted finish or perfectly color-matched plastic unless that work is explicitly described in the quote.
Choose from currently available materials
Check the materials page and the live quote options for availability. Explain the operating conditions before committing to a material. Indoor decorative use, sustained load, flexibility, and a hot environment place different demands on a part.
A material listed in an educational guide is not necessarily available to order that day. Likewise, a high infill setting is not a universal shortcut to a suitable part. Wall structure, geometry, material, and print orientation deserve consideration together.
If you do not have a model yet
The model-library guide can help you find files, but check the creator's terms for the use you intend, including having a service print it. Keep the source link and any relevant permission information with your project notes. A download button does not by itself establish permission for every use.
If you have only an idea or sketch, use the contact page to ask about the next step before ordering a print. Describe the purpose and measurements. Modeling work and printing an existing file are different tasks, so establish the scope rather than assuming an upload quote includes creating the design.
A request checklist you can reuse
Purpose: what the piece does and where it will be used.
File: STL or 3MF, plus the design source or permission information where relevant.
Size: final dimensions and all critical fit measurements in millimeters.
Quantity: one test piece or the final number required.
Appearance: desired color, visible faces, and any planned finishing.
Function: load, motion, temperature exposure, and mating components.
Timing: when you need it, so the available estimate can be checked before you commit.
For example: “I need an original rectangular display riser for indoor use, 180 mm wide, 90 mm deep, and 25 mm tall. The top and front are visible. Please review it for the stated display load and quote one sample before I order more.” Those dimensions are an illustrative brief, not a validated design or a stock product.
When the file and brief are ready, start your Artrovo Gundam FDM quote. Review the available materials, final price, scope, and delivery estimate before ordering. A clear request makes it easier to catch the important questions before production.
Reviewed September 11, 2026. Cover: AI-generated concept art of original display and organizer ideas, not a photograph of a finished customer order or a product available for purchase.